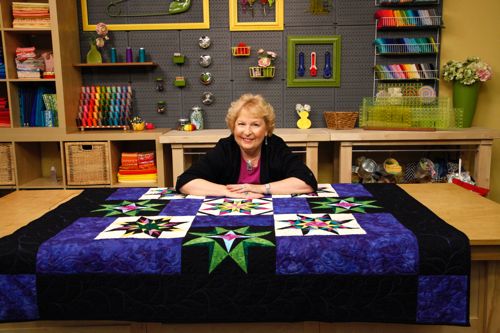
Show Me How To Paper-Piece 2nd Edition Back by Popular Demand

December 17th, 2021

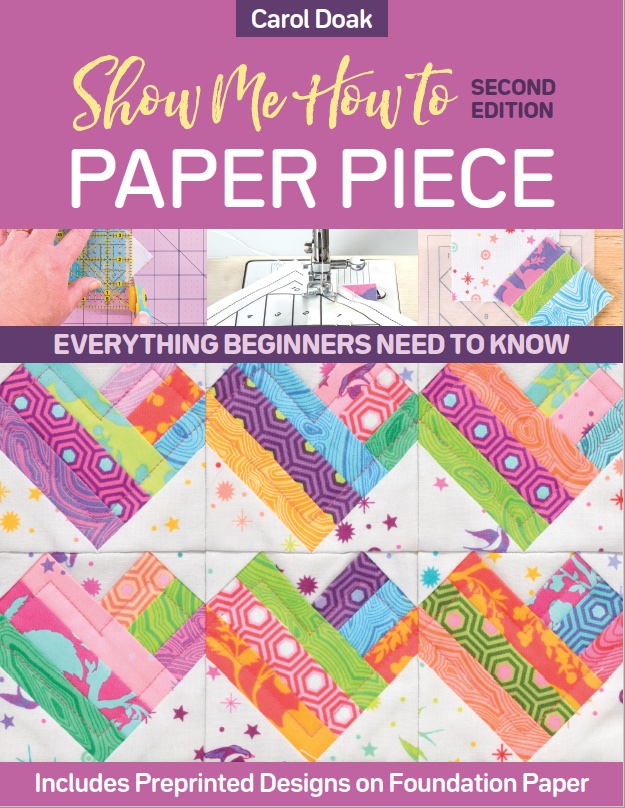
After many requests, I am excited to let you know that Show Me How to Paper Piece is back and even better than the original that taught many people how to paper piece!!!!!!


Everything Beginners Need to Know; Includes Preprinted Designs on Foundation Paper

Quick & easy and paper-piecing method!

Learn the basics of paper-piecing with renowned teacher Carol Doak. Beginners leap into quilting and create your first paper-pieced quilt with thorough instructions and guided visuals to help achieve a perfect, accurate block. Create your own wall quilt by sewing blocks that can be completed in 3 simple steps!
Step-by-step instructions for perfect blocks every time
Guided by expert quilter and best-selling author Carol Doak
Easy for all skill levels! First-time quilters can achieve accurate blocks

Learn to paper piece perfectly!
Learn in an organized and easy fashion!

Release date January 25, 2022

Pre order at https://www.ctpub.com/show-me-how-to-paper-piece-2nd-edition/

#11474 8.5″ x 11″. 32 pages

New Craftsy Class: Amazing PAPER-PIECED STARS

September 12th, 2014

477_Paper_Pieced_Stars_Headshot_061_retouchedSome of you know that last year I was diagnosed with Breast Cancer. What most of you don’t know is that I was scheduled to fly to Denver two days after the diagnosis to film my second Craftsy class. It quickly became evident that neither my mind nor my body was ready to take on that task. My producer at Craftsy was simply amazing canceling everything allowing me to focus on my immediate medical needs. I already had my suitcase packed with all the supplies I would need to present the class. Rather than unpacking it, I simply placed the suitcase in my closet. Perhaps that was my mind telling me that this event was only going to be delayed.

I am pleased to tell you that last month, I did fly to Denver with that suitcase to film my new Paper-Pieced Stars Class.

titleCard

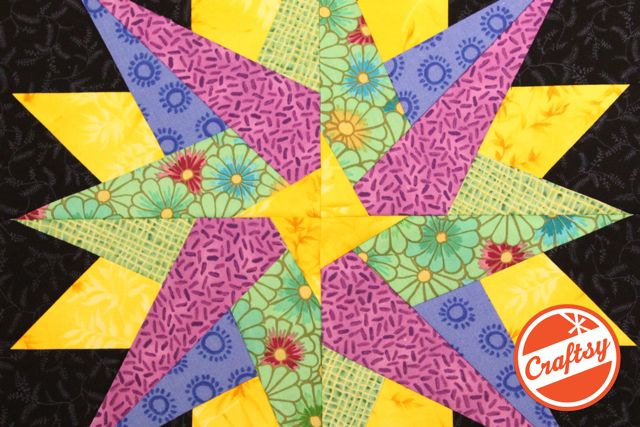
In this class, you’ll learn a variety of techniques as you paper piece six of my Eight-Pointed Star designs created just for this class, which you can combine into a fascinating medallion-style quilt (the patterns come with your class!). I’ll help you achieve perfect points with my best stitching and pressing tips.

We’ll start by going over the tools you’ll need for success with paper foundation piecing. I’ll guide you through the cut lists in your class materials, so you can prepare all your fabric pieces with tips for staying organized and efficient!
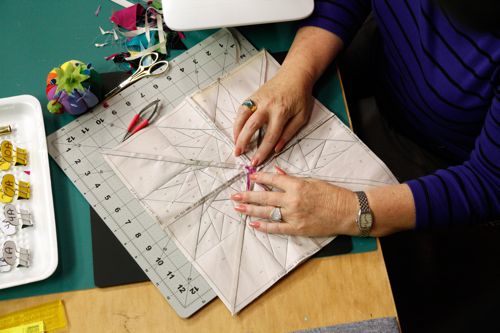
477_Paper_Pieced_Stars_03_retouchedYou’ll see how to simplify tricky seams and blocks.
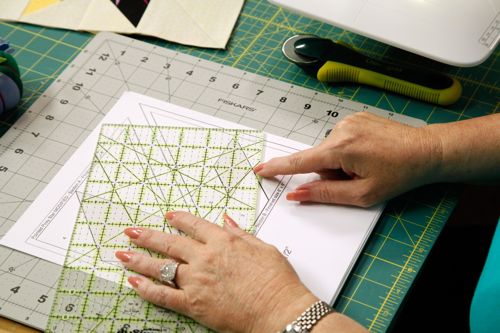
477_Paper_Pieced_Stars_07_retouchedWe’ll even cover how to calculate the yardage needed for every fabric group in a quilt.
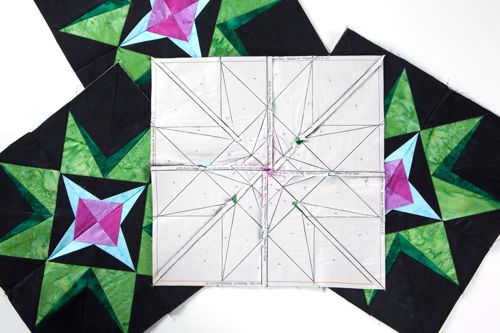
477_Paper_Pieced-Stars-0038_retouched

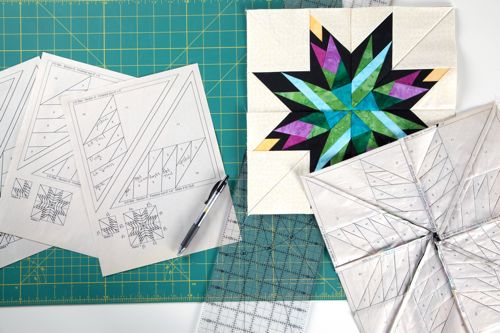
Next, you’ll gather up all the fabric goodies you need to create the simple yet striking Twinkle Star block. I’ll help you set up your sewing machine, pick the right tools to work with and choose the best stitch length for wonderful results. Then, you’ll see how to accurately lay your fabric onto foundations, sew and press it perfectly.
477_Paper_Pieced-Stars-0061_retouched

In our following lesson, I’ll walk you through constructing the 3-D Star block with its eye-catching dimension. Along the way, I’ll share my tips for choosing fabrics and constructing your block with perfect points, reduced bulk and flawless seams.

You’ll learn some new tricks as we create the captivating Pointed Posy Star block. In this lesson, we’ll cover how to mix and match different foundations. Plus, we’ll talk about how you can simplify blocks by reducing the number of pieces and seams.

We’ll move on to constructing the exquisite Twisted Tulip Star block with step-by-step instructions. During this lesson, you’ll discover how to mix and match different foundation sections to create new, fascinating star blocks. You’ll even pick up a trick for fixing points that don’t match up perfectly.477_Paper_Pieced_Stars_49_retouched
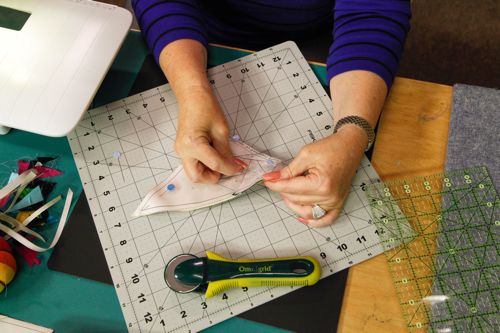
After that, you’ll see how to sew the Windmill Star block with its exceptional movement. In this lesson, I’ll share my practical guide to color, so you can be inspired to create a harmonious block you love!

We’ll continue with the radiant Starburst Star block. I’ll teach you about creating secondary patterns with eye-catching color effects that dance around your quilt! We’ll also discuss a simple method for calculating the yardage you’ll need for each fabric group in a quilt, so you can buy the amount of fabric you actually need. There’s even a cheat sheet in your class materials that makes this process that much easier.
477_Paper_Pieced_Stars_Headshot_056_retouched

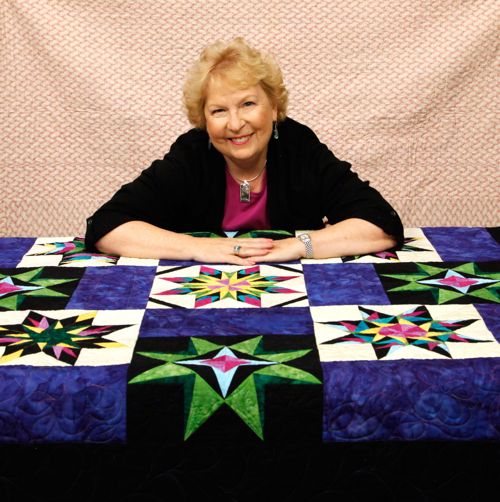
If I look happy and relaxed in this photo, I was. I thoroughly enjoyed finally filming this class when I felt healthy and happy. I hope to see you there. The class is scheduled to go live on the 23rd of this month at www.craftsy.com

All the best, Carol
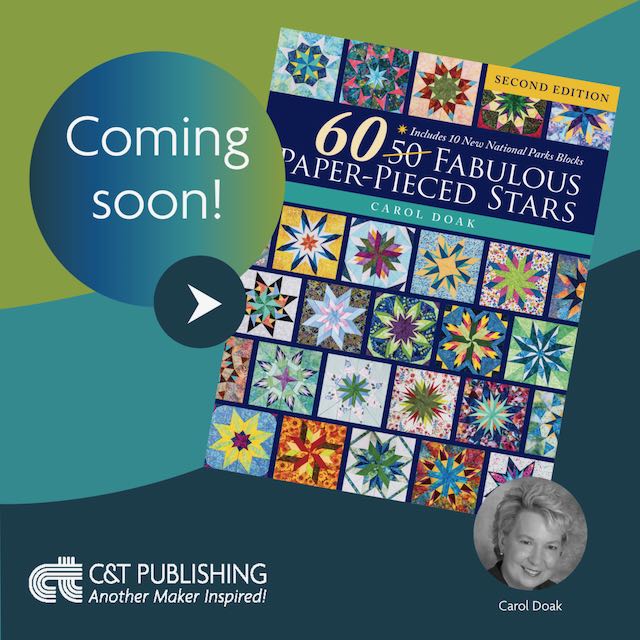
Coming Soon!

June 7th, 2023

You can preorder now!

https://a.co/d/3HsfZZE

https://a.co/d/3HsfZZE
September 25, 2023

New Videos Are Now Available!

March 4th, 2022

With the release of my new book, Show Me How to Paper Piece, 2nd Edition, I created two new videos.

Getting Ready to paper Piece

The first video shows you how to get set up to paper piece.

This video takes you through the next steps.

The second video walks you through the paper piecing process. Quilters are typically visual learners so these types of video are often very helpful.

Just click on the images to visit the C & T Publishing YouTube page to watch.

Enjoy! Carol

Show Me How to Paper Piece Book Signing and Demonstration

February 17th, 2022
Judy Sherman, owner of P J’s Quilt and Longarm Studio in N. Ft. Myers, FL

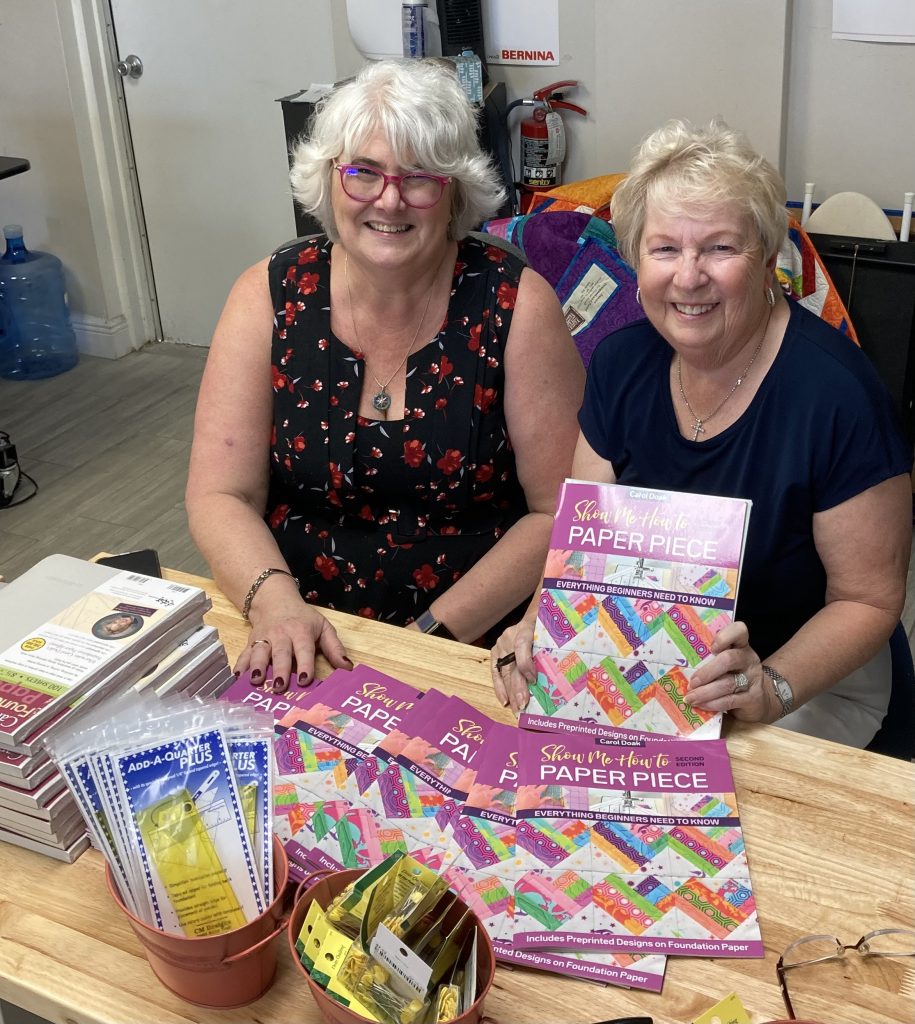
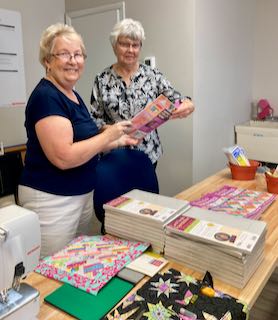
I recently had the opportunity to visit P J’s Quit and Longarm Studio in N. Ft. Myers, FL to do a book signing for my newest release, Show Me How to Paper Piece, Second Edition. Judy was such a wonderful hostess and assembled a lovely group of quilters.

Signing a copy for a new friend.

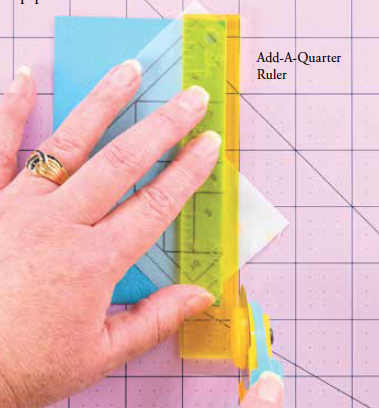
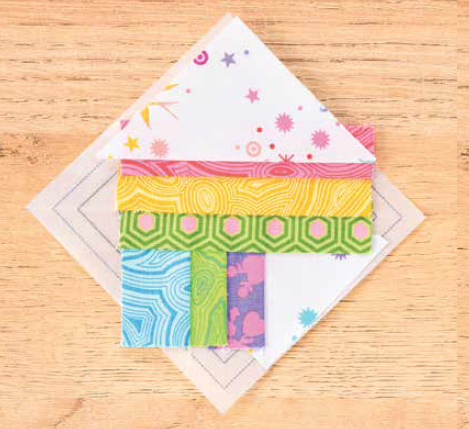
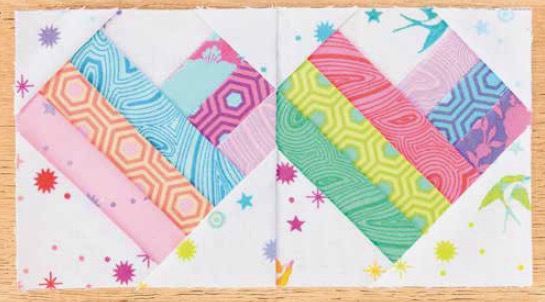
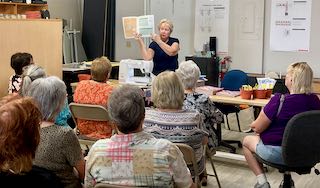
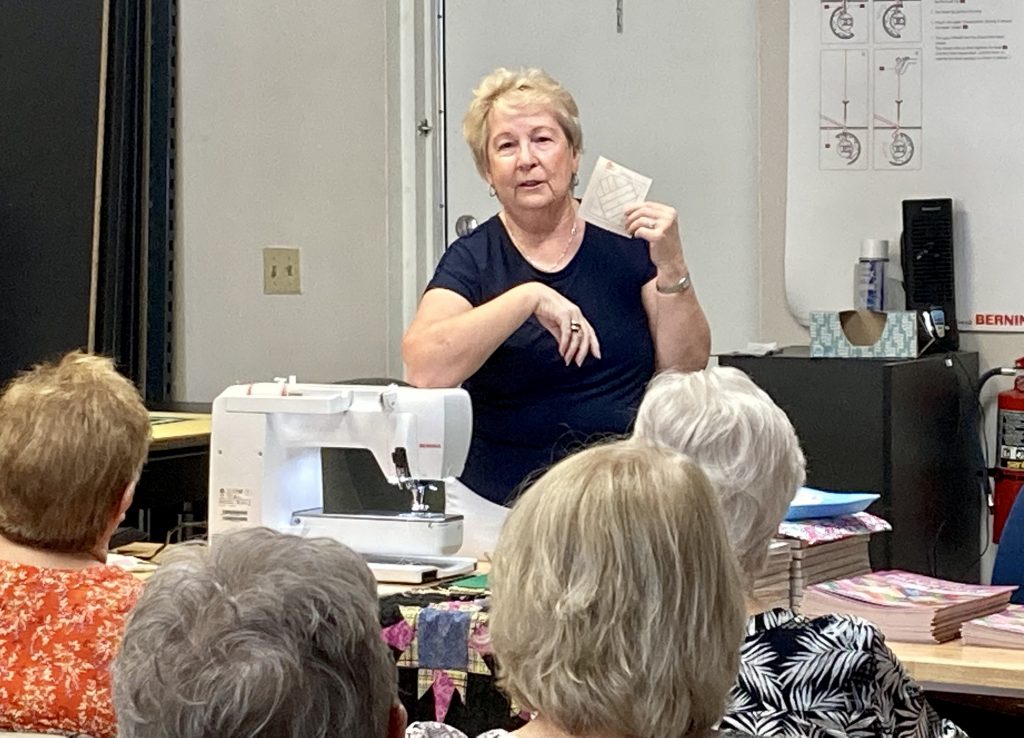
After signing a few copies, I showed those in attendance what they will find in Show Me How to Paper Piece and how to use the foundations in the book to make the cute little heart quilt on the cover.

The response to the book was wonderful and I look forward to doing more of these.

All the best,

Carol
Craftsy Impressions

November 1st, 2013

www.craftsy.com/ext/masteringfpp

It has been a little over 6 months since my first Craftsy class, Mastering Foundation Paper Piecing, went live. Since then, I have had some major revelations about teaching foundation paper piecing on line through Craftsy.

My first revelation is the outreach this format offers. Never in my wildest dreams did I expect 6,447 students to sign up in the first few months the class went live. But they did and they continue to sign up.

My second revelation is the relatively few number of questions asked by the students. I think that is a testament to the quality of the video and the content of the classes.

My third revelation is the amount of positive feedback I would receive from those taking the class. As an instructor, that is so gratifying!

My fourth revelation is how well all the students are doing. Again, I think that is a testament to the quality of the product.


This is FranApple’s first attempt and I think she did great. Then Gico took her block and made a 4-block rotation and added borders for a charming little quilt.


This is Angel66’s Sunflower Fun project. Sometimes, one student sharing her project inspires another student. Quiltingmeemaw2 2 wrote, “Love it. I haven’t so far been able to conquer paper piecing. Have taken many classes Maybe learning this on line will be my answer. I love your color, also. Your sunflower is STUNNING !!” And Angel responded with encouragement, “Thanks so much. Carol is very good and provides lots of tips I didn’t get from local teachers. Hope you enjoy the class as much as I did, Angie” So, like in real life, the online students becomes a community. Quiltfabrications turned the Sunflower into a Daisy and shared her exquisite quilting.


Others tackle projects that they didn’t think they could achieve like Kuby who created a really pretty little quilt using the Starlight Project. Lkeene’s fabric approach was completely different.


Suzibud’s Mariner’s Compass Star turned out stunning. Abudhabiquilter, expanded her block using the free border inside the Carol Doak Legal Size Foundation Paper.

Once students achieved paper piecing success, then they began to expand and share even more projects.

Jeannie shared her beautiful Tennessee Star from the 50 Fabulous Paper-Pieced Stars book.

I love the fact that this format offers me the opportunity to share the knowledge I have with quilters around the world and help them achieve the success they desire when paper piecing and make it fun!

If you would like to join in the fun, here is a link that will give you 50% off the cost of the class making it a super value!!

www.craftsy.com/ext/masteringfpp

I will see you there!

Carol


What A Difference Color Makes!

July 12th, 2013

DSCF4826A few months back I was delighted to receive the new colorways for the Carol Doak Keepsake Frame Cards.

DSCF4827

One new colorway was called “Celebration Colors” containing a yellow green, a sea-foam blue, a cream and a happy pink. The “Earth and Sky Colors” started off with a flannel gray, a rich deep green, a white with a hint of gray and a wonderful maize color. Although I enjoyed using all the new colors, rather than the traditional white previously available, I never realized what a difference they make in the overall look and tone of the card until I was auditioning a new sail boat block today inside a variety of colors today. I thought I would share with you what I saw.

DSCF4829For comparison purposes, here is the standard white card. The colors of the block stand out from the card, but the card does not add anything to the block.

DSCF4830Here is the yellow green card in the Celebration Colorway. The green is a happy green and the blues contrast nicely against it.

DSCF4831The blue card from the Celebration Colors makes a connection to the blues in the block. The lighter blue sky and darker blue water still stand apart from the card.

DSCF4832The cream card from the Celebration Colors is softer than the white card, but still permits all the colors in the block to pop.

DSCF4833I think the pink card from the Celebration Colors gives this card a playful tone. The blues really pop but it also makes a connection with the bits of pink in the card.

DSCF4834The flannel gray card from the Earth and Sky Colorway gives this card a more conservative tone now. The colors still pop but the seem more toned down.

DSCF4835The rich green from the Earth and Sky Colorway gives the card a rather regal look. I now see bits of green in the print.

DSCF4836The off-white with a bit of gray from the Earth & Sky colorway provides a neutral ground for all the colors to pop without interacting with them.

DSCF4837The wonderful maize color from the Earth & Sky colorway adds warmth to the card and really lets the colors pop.

So, my conclusion regarding which color to use with my boat really depends upon the age and gender of the recipient of the card. If I was sending this card to a young person (or maybe someone young at heart), I probably would select one of the Celebration Cards. If I was sending it to a more mature person or a conservative person, I probably would go with one of the Earth & Sky colors. It is so nice to have choices!

Which is your favorite card color?

All the best,

Carol
 

Craftsy Here I Come!!!!!

March 26th, 2013

titlecard_fb
About two years ago, I made the decision to cut back on my teaching travel schedule to spend more time with my family. I don’t regret my decision because it also gave me more time to design and write another book. However, the requests for me to teach continued and I really missed playing with my students. When the folks at Craftsy approached me about developing an online course about Foundation Paper Piecing, it was the perfect answer! I could develop a comprehensive course, interact with students and still share my tried and true foundation paper piecing techniques with quilters worldwide!

SetI flew to Denver where I had a wonderful set, producer, camera people and spent several days shooting the 8 segments of the course. What I would like to do in this blog is give you an pretty in depth description of what you will learn through this course. Keep in mind that unlike a live class room, I can show and demonstrate so much more information because I am not interacting with a live classroom waiting for everyone to move forward. You can watch the course at your own pace and move forward at your pace. I begin the course by introducing exactly what foundation paper  piecing is and what blocks are good candidates for this method and what blocks are not.

Bird of ParadiseIn the next lesson, I describe some of the tools I use for paper piecing and how I choose fabrics and create a cutting list for a block. Keeping things organized is so helpful when paper piecing.

Making a blockIn the next lesson, I take you through the set-up for paper piecing, and walk you through making a block. The camera close-ups are so valuable to see exactly what I am doing. In the third lesson, lots and lots and I mean lots of tips and tricks are shared. Information about calculating yardage for a paper-pieced quilt, how to cut the fabric pieces quickly, how to cut the fabric so it will open to the straight grain, how to calculate how big each fabric piece should be, and how to make and use pieced units. You will use this information over and over again! I also share lots of the foundations that I used in this lesson as bonus patterns.

SunflowerIn the next lesson, I chat about modifying a paper-pieced block and we assembly-line paper piece this little Sunflower quilt. Joining units so they match perfectly is covered here.

9-PatchIn the next lesson I cover multiple unit paper-pieced quilts as I show how to make a 9-Patch Star Quilt. Lots of tips in this lesson too!

Mariner's Compass

In the next lesson I share a new Mariner’s Compass Style block set on point. Tips for using triangular blocks, joining the blocks and a piece across them are covered here.

Craftsy shot2In the last lesson, I chat about designing your own paper-pieced blocks and some of the types of quilts you can make using the techniques learned throughout the course. So that is not everything, but it gives you a flavor of the type of information you will learn throughout the course. I think it is pretty comprehensive.  However there are bonuses like…an ebook of 50 Little Paper-Pieced Blocks, class materials, the ability to watch the lessons at your convenience, to ask me questions, to make video notes to watch again particular sections, to share your projects with other students, receive new designs that I created just for this course and all with a money back option if you are not happy with your purchase.

Now, what could be better? How about a link to sign up and receive 25% off the tuition price? Just click on the image above and that will happen for you.

See you there!

All the best,

Carol
All the best,

Carol


I Would Like to Thank the Academy…..

February 12th, 2013

On top

I was honored to read that I have been nominated by the 2013 Golden Quilter Awards as BEST QUILT DESIGNER. What fun! There are several wonderful quilters in this first category and I consider myself fortunate to be in their company. If you would like to cast your vote, you can do so here:

http://sewcalgal.blogspot.com/2013/02/2013-golden-quilter-awards-voting.html

Voting ends February 28th. Thank you in advance for your consideration.

All the best,

Carol


Carol Doak`s Creative Combinations is On It’s Way!!!!
February 7th, 2013

CreativeCombinationsCoverYeah!!! I just received word that my newest book is on it`s way and I am so excited. I should be able to begin shipping it on Valentine’s Day out to those who have pre-ordered. Since this has been my passion for the past couple of years, it is very fitting that it arrives around Valentine’s Day.

Legalpaper

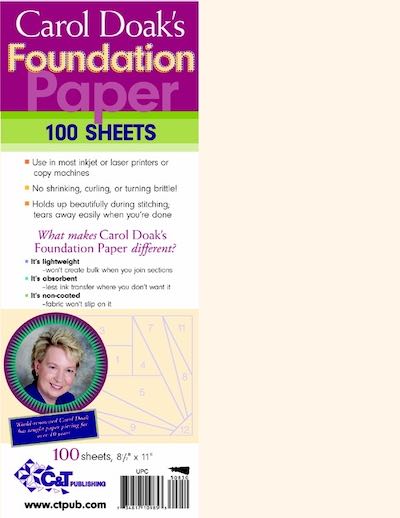
Let me take you down the creative journey that inspired this book. You see, for several years quilters had been asking for legal size foundation paper so they could print longer blocks. When C & T Publishing agreed to work with me to make legal size foundation paper available, they suggested that I design a free 3″ x 12″ long border block to include with the package of paper. I agreed and the block was designed.

half block

But then I thought, I could create 6″ x 12″ block designs. So I started playing with some new designs in that size.

full block

When I printed out the first design, I thought, gee, I could place them together along the long side and make 12″ blocks in two halves too! The result was a 12″ block made in two halves looking very different from traditional block designs.

OptionsBut then I thought I should design some blocks to round the corners of the border blocks. But then why not use those blocks as 4-block rotation blocks.

triangular portionI soon saw the possibility that some blocks offered to just make the triangular portion of the rectangle and place them in a four-block rotation to create new block designs.

Big and SmallAnd then of course this book needs to come with the Foundation Factory program that will let you print the blocks in any size you like. But that program also lets you flip blocks and distort blocks….oh my, I could see the possibilities were going to be endless!!!!!!

2-page-spreadI love the way each foundation is presented as a border with the pieced corner suggestion, a corner square, the block positioned two ways for a quilt in a colored version and just the line drawings so you can see other options pop up in your brain.

Want to see some of the quilts in the book??? The styles and colors are so varied and they are just the tip of the ice berg with this book.

P10873_06_MagicCarpetRideI love how this Magic Carpet Ride Quilts takes on the flavor of a Southwestern design

P10873_01_MorningRays-2Morning Rays…This one was for me! Love the colors and the sharp points.

P10873_05_ItsAmazingThis one called, It’s Amazing was made for my perfect granddaughter. She walked in the room and saw it on the wall and Looooovvvved it! It was so easy and fun to create.

P10873_07_ArrowheadThis one is so dramatic. It’s name is Arrowhead and it is the perfect scrap quilt or quilt for that tall guy in your life.

P10873_03_Sunset

This quilt called Sunset has a wonderful contemporary look and was so easy to make.

P10873_04_GardenStarThis quilt called Garden Star is a modern twist on the look of 30’s fabric quilts.

There is so much more in the book, but I hope this sneak peak has given you an idea of what you can expect to see in Carol Doak’s Creative Combinations. You can order it now in the web store  and it will ship on Valentine’s Day.
BTW, I would love to see the quilts you make from this book and perhaps I can have a fun “Show and Tell” in the future.

All the best,

Carol