Recently I have run across several tutorials on the web explaining how to paper piece. Athough they are well meaning, gosh, they often make it more difficult than it is. So, I was always taught, don’t complain, make it better. Therefore, I decided to create my only online tutorial and here it is. Enjoy, Carol
Supplies:
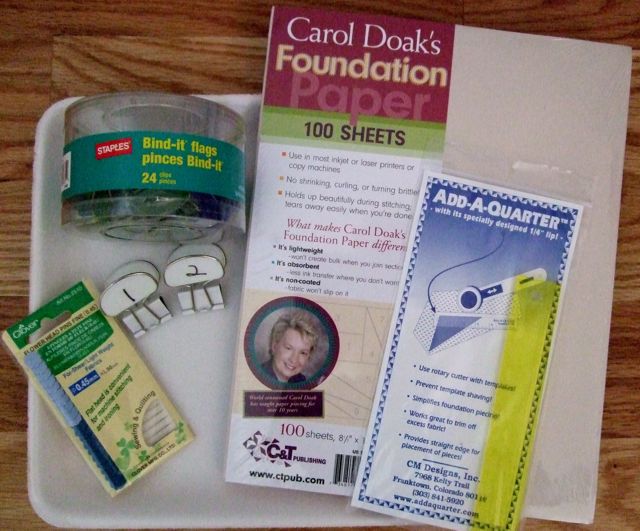
Carol Doak Foundation Paper-Perfect for paper piecing because it is easy to use, will not loosen the stitches when removed, eases when joining blocks and easy to remove.
Flat Headed Pins
Add-A-Quarter Ruler attached to a postcard with the 1/4″ edge over the edge of the postcard. Place the ruler on the right side for right-handed cutting and left side for left-handed cutting.
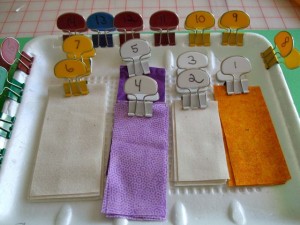
Binder Flag Clips labeled #1-7 to number your fabric pieces
Styrofoam meat/fruit tray to transport your pre-cut fabric pieces
Size 90/14 needle
Iron set on cotton setting, no steam.
Rotary Cutter and rotary mat
Foundations
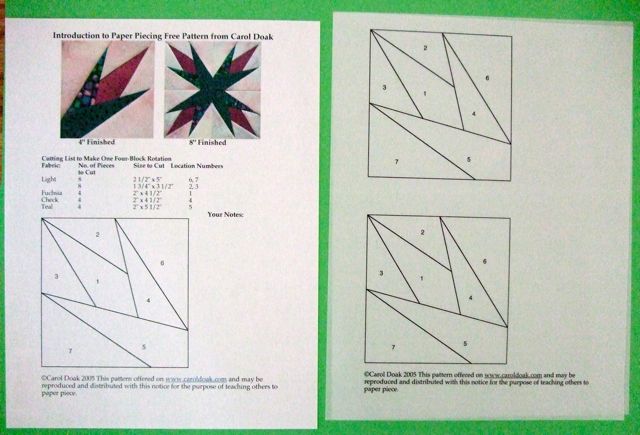
1. Select your foundation and print on Carol Doak Foundation Paper. I am going to use “Introduction to Paper Piecing” offered in the Free Patterns section of my web page. Please note that for the purpose of showing how this is done, I will use vellum in the photos below so you can see through the foundation.
2. Print one of page 1 for your cutting list on copy paper.
3. Print two of page 2 on Carol Doak Foundation paper to make four foundations. I will demonstrate making one block.
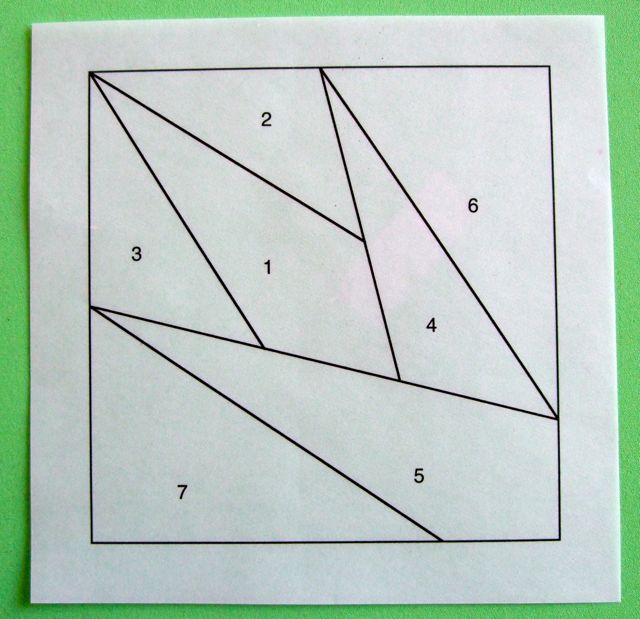
4. Using your rotary cutter and ruler, trim the foundations 1/2″ from the outside solid line.
Fabrics
1. Using the cutting list provided on page 1, cut and label your fabric pieces. It is easiest to cut a strip the smaller measurement and then cut the lengths. For instance, the first item on the list is 8 pieces, each 2 1/2″ x 5″ and they are used for location number 6 and 7.
Cut a strip 2 1/2″ wide and then cut the 8 pieces each 5″ long from the strip.
2. Clip your #6 and #7 Binder Flag to this group of fabric.
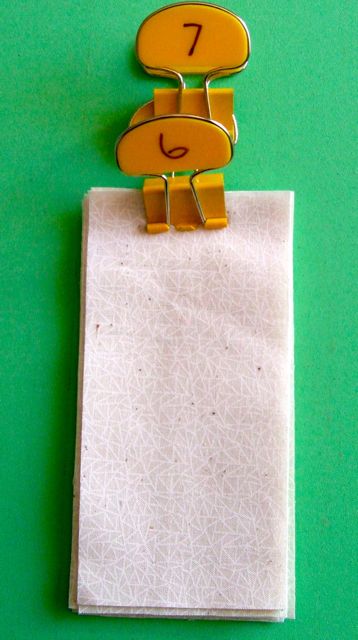
3. Cut the remaining pieces in the list in the same way and place them on a Styrofoam meat/fruit tray.
Sewing Machine
Set up your sewing machine with a neutral color thread, a 90/14 needle and 18 to 20 stitches to the inch. That is about a 1.5 on a sewing machine that has a range of 0-5.
Step-By-Step Paper Piecing — Trim, Sew, Press
1. Select the #1 fabric piece and position it RIGHT SIDE UP on the BLANK side of the paper over the #1 area. Be sure that it covers the area completely with at least 1/4″ all around the #1 area.
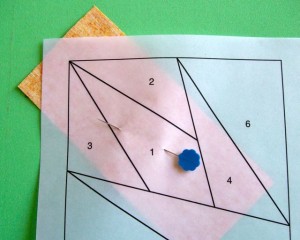
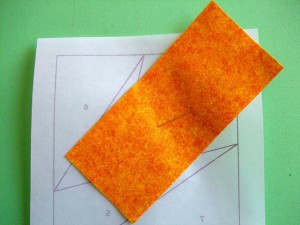
2. Place the postcard on the line between #1 and #2. Fold the paper over the edge of the postcard exposing the excess fabric beyond the #1 seam line.
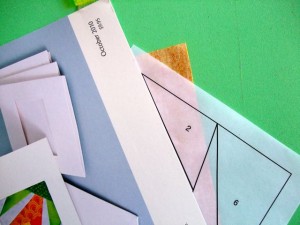
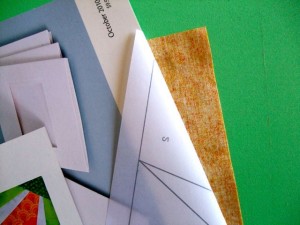
3. Place the Add-A-Quarter ruler along the edge of the fold and trim away the excess fabric.
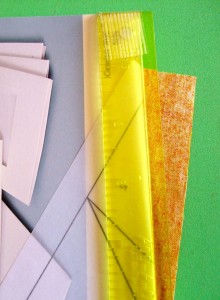
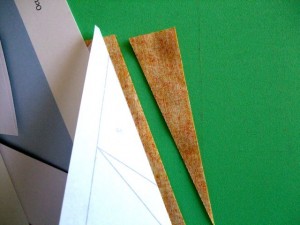
4. Place the #2 fabric right side up over the area it needs to fill to ball park placement, then right side together with the previous piece along the just trimmed line.
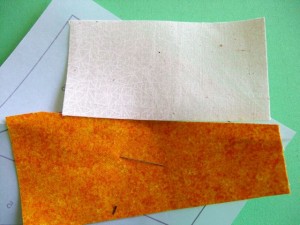
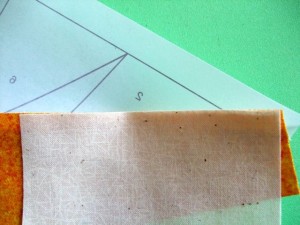
5. Confirm that the ends of the #2 piece will cover the #2 area.
6. Pin in place.
7. Place with the lined side up under the presser foot and sew on the line, extending the stitches 1/2″ on each end. Remove and press the #2 piece open.
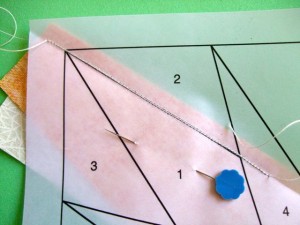
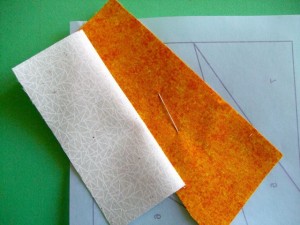
8. Now, using the #3 line, follow the same sequence of trimming, sewing and pressing as described in steps 2 through 7. Remember when you extended the stitching on each end of the line? Well, when you place the postcard along the #3 line, you will need to pull away the stitching from the paper at the pointed end to fold over the card. That is fine. However, the fabric pieces will still be stitched in the seam allowance area and that cuts down on bulk in these areas.
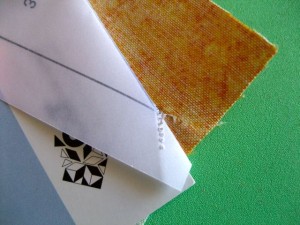
9. Once the #7 piece has been sewn the block is trimmed 1/4″ from the outside sewing line.
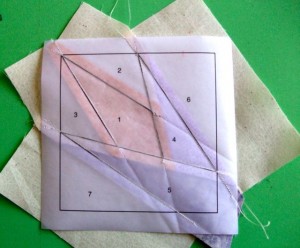
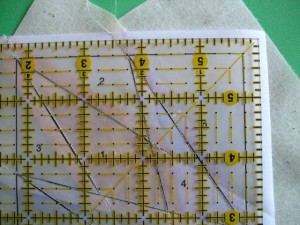
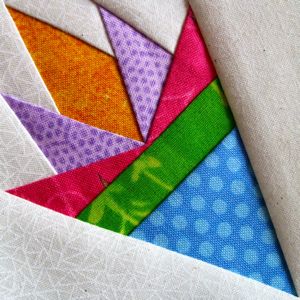
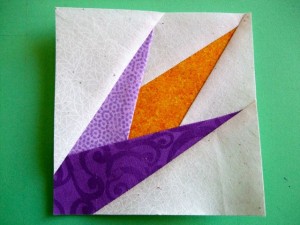
And here is your awesome block all finished with those perfect points. To make the 8″ block featuring a 4-block rotation, simply make three more blocks assembly-line fashion and join them.
For lots of tips and tricks about paper foundation piecing (measuring your fabric pieces, joining blocks, speed methods etc.), I would suggest any of my paper piecing books and/or DVD, Carol Doak Teaches You to Paper Piece.
I hope these instructions will encourage you to give paper piecing a go and if you are already paper piecing, I hope they add to your enjoyment of this fun method.
Carol
©Carol Doak 2012
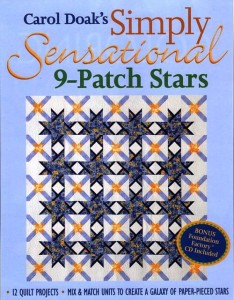 I am often asked the what would be a good book to purchase in order to learn the beginning steps for paper foundation piecing. Although all of my books contain instructions on how to paper piece, Simply Sensational 9-Patch Stars is a super place to start. I have even put together a Starter Kit in my web store that includes this book, a package of foundation paper and the Add-A-Quarter ruler. With these three items, a new paper piecer is on their way.
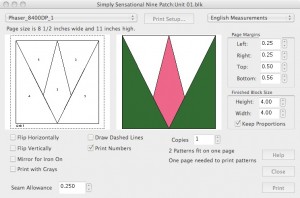 The blocks in the book are comprised of point units, center units and corner units. Mix and matching these units make up the 9-Patch Stars and more. The book comes with the Foundation Factory program, so it is just a matter of selecting the unit you would like to print, the size of the unit and how many and hitting “print” to create your foundations.
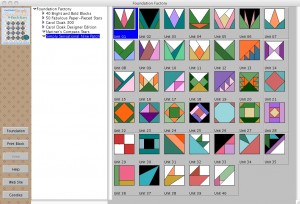 The units themselves are very simple with few pieces so they are quick and easy to create. Even though they are quick and easy to create, the star blocks they create are striking.
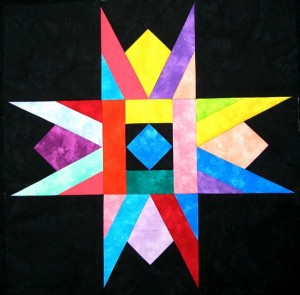
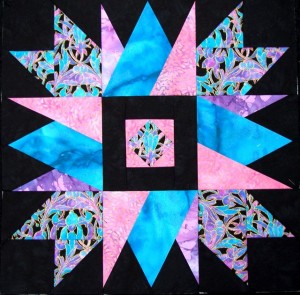
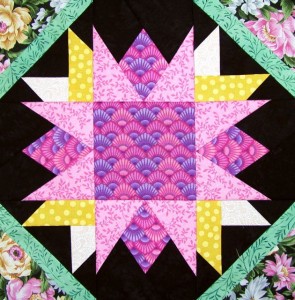 Above are three of the Simply Sensational 9-Patch Stars representing Alaska, Georgia and Kentucky. There are actually 50 of these blocks, each representing one of the US States.
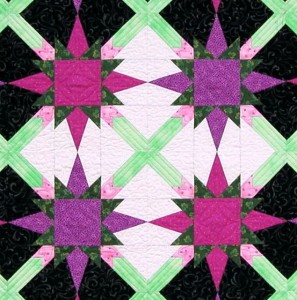 The corner units create a wonderful lattice connecting the star blocks.
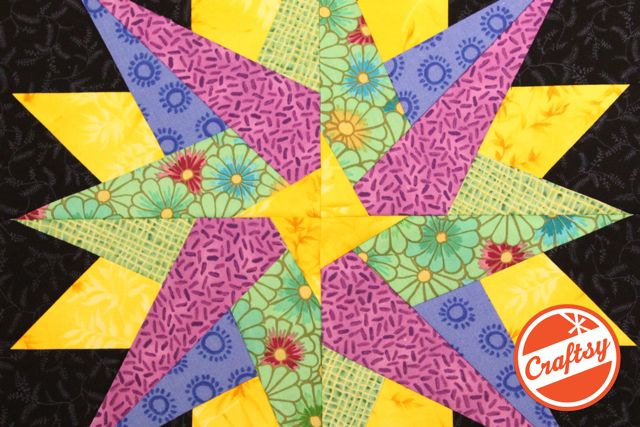
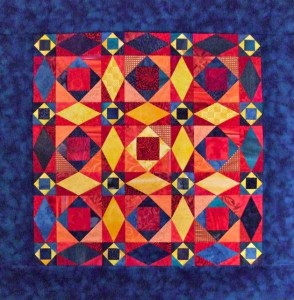 Ok, so just in case you think the possibility of 2500 star combinations and endless quilt options is too confining, consider this. You can take those units and enlarge them, reduce them and distort them offering even more options. The Storm at Sea pattern above was made using two simple center units.


