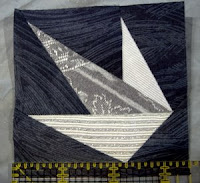
Liberty and Just Stars for All
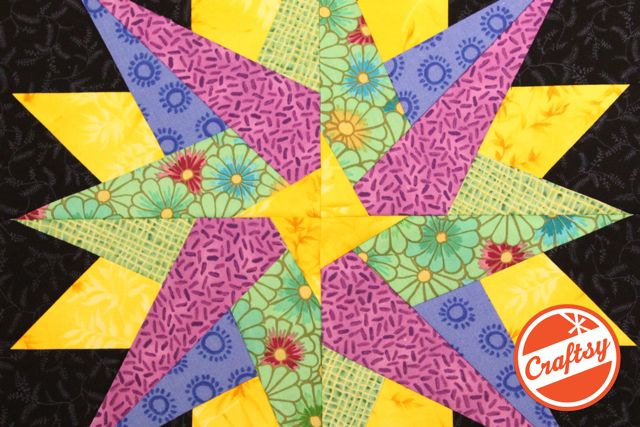
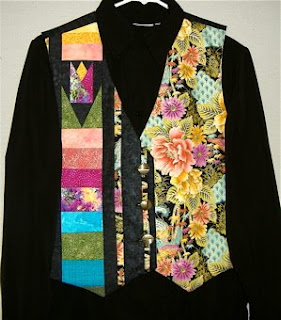
Wednesday, July 9th, 2008 Show and Tell is such a big part of quilting. It is a way to not only share our love of quilting, but it expands our creative horizons. I just love receiving pictures of projects that people have made using my designs. This quilt, Liberty and Just Stars for All, was made by an internet group for the Salvation Army in Madison, Wisconsin. American Family Insurance was so impressed with this quilt, they made a donation in exchange for the quilt. It is now hanging in the rotunda of their corporate headquarters. The quilt features all 50 stars from my book, 50 Fabulous Paper-Pieced Stars.
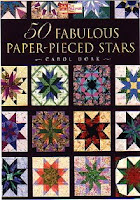
To read more about this book in my web store, click here
I love the name of this quilt and it is so appropriate given the fact that all 50 stars representing the 50 states are included in this quilt. Congratulations to this group for making such a spectacular quilt for a good cause and thank you for allowing me to share the photo here.
May all your points be perfect,
Carol


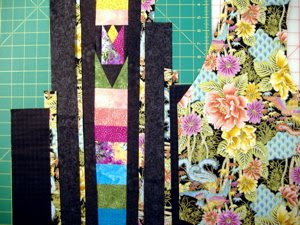
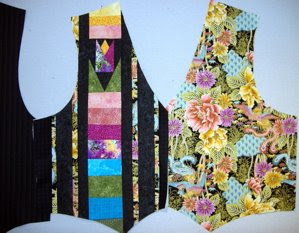
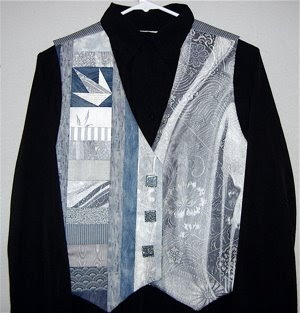
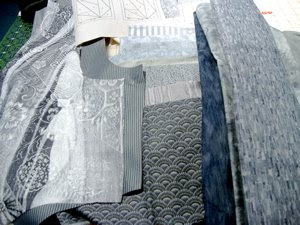
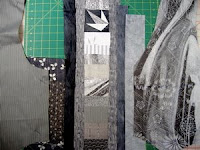
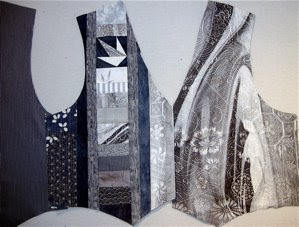
 ay, I worked on my first vest side. I purchased this elegant Japanese silk fabric when I was teaching at Quilt Colorado and couldn’t wait to use it as the inspiration for this vest side. It has shades of grey with this wonderful raised white floral element. Working with such a neutral pallet will make this a very versatile vest to bring along on my teaching trips. It will go with anything! The first step, decide how to position the left vest front pattern on the fabric to take advantage of the best elements and direction of the lines in the fabric. I typically like to use vertical or diagonal lines that go from the center of the vest toward the upper portion of the vest to create the most flattering look.