Vest Side Two and the Grande Finale
Sunday, July 6th, 2008 First, I want to thank everyone who sent me such nice encouraging notes re starting my blog. I so appreciate the time you took to write and all your kinds words. Now, on to the second vest side….
With one vest side completed, I was anxious to get the other side completed so I could finish the vest and choose the buttons. You see, I always wait until the vests are done to go into my button box and choose the buttons. While I was in Colorado, there was also a wonderful button vendor and I stocked up on some awesome buttons that I couldn’t wait to use. Sometimes it is the little things, literally, that get us motivated.
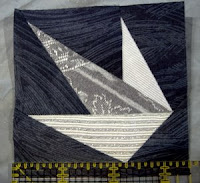
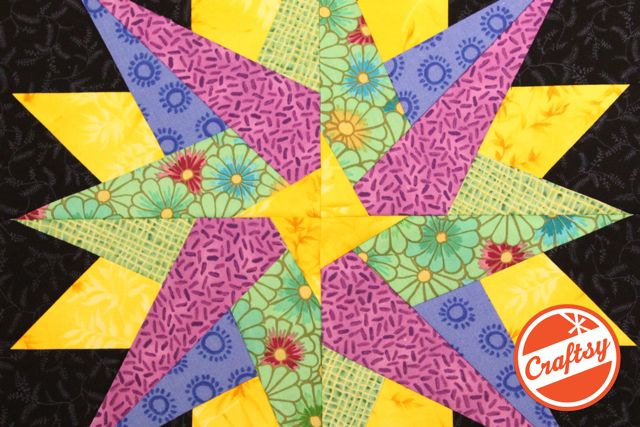
So, off to choose fabrics for the second vest side. I already decided it was going to be black with lots of vivid colors. Perhaps I was going through color withdrawal after working on the shades of gray vest. I had this awesome large scale floral fabric with a black background so it was simple to choose companion fabrics featured in the focus fabric and a variety of textured blacks. The paper-pieced block was going to be a rectangular flower block from the new book. I positioned the fabrics to see how they looked together. Plenty of colors for my taste and perfect for lots of different blouses. It was now time to cut the strips and make the paper-pieced block.
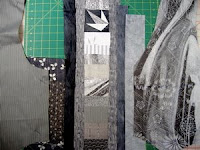
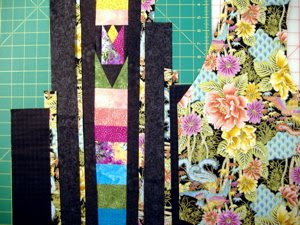
Once this task was completed, I positioned the block and the strips on the vest front foundation in the way I intended to sew them to play with the possibilities. I wanted more black than floral on the patchwork front so I used thin floral strips and wider black strips.
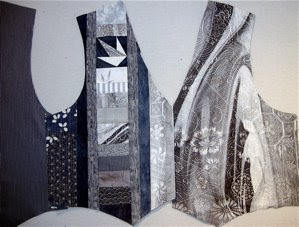
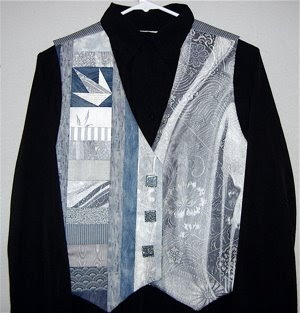
This vest side worked up quickly and I was pleased with the results. The brighter fabrics were used at the top of the colorful strip and the darker fabrics at the lower portion. The thin vertical floral strips incorporated this fabric in the patchwork side, but ever so slightly. I used a black tone-on-tone stripe for the back of the vest. I like to use stripes for the vest backs…again, it is that optical looking thin thing again.
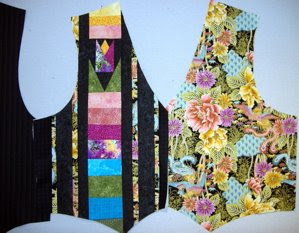
Now I am heading down the homestretch. All that is left to do is join the two sides, flip, press, insert that cute little back elastic, join the side seams, and finally….yes finally, choose the buttons. I chose these really glitzy square silver buttons for the gray side and fairly simple golden buttons that looked woven for the floral side.
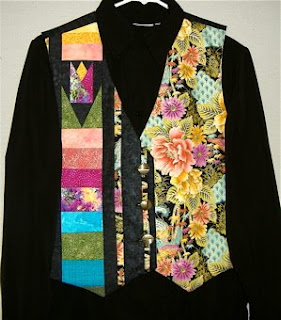
Yes, all is well with the world. Ooooh, I have a trip this week and I can bring my new vest to wear….oh, it would look great with my teal blouse on the floral side or maybe the bright pink or that even the summer green shell….run upstairs and check out the teal blouse, the pink blouse and the green shell and…the gray side would look awesome with a white blouse, light blue blouse or even black. Check out the white and blue blouses. Wow, both sides look great with my black blouse….Yes, that is it, the black blouse! Black is such a great travel color…it doesn’t show any spots.
Until next time, may all your points be perfect,
Carol
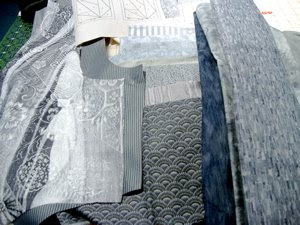
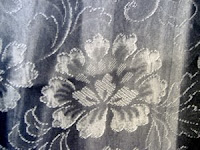 ay, I worked on my first vest side. I purchased this elegant Japanese silk fabric when I was teaching at Quilt Colorado and couldn’t wait to use it as the inspiration for this vest side. It has shades of grey with this wonderful raised white floral element. Working with such a neutral pallet will make this a very versatile vest to bring along on my teaching trips. It will go with anything! The first step, decide how to position the left vest front pattern on the fabric to take advantage of the best elements and direction of the lines in the fabric. I typically like to use vertical or diagonal lines that go from the center of the vest toward the upper portion of the vest to create the most flattering look.