Paper Piecing the Carol Doak Way (Easy Way)
Recently I have run across several tutorials on the web explaining how to paper piece. Athough they are well meaning, gosh, they often make it more difficult than it is. So, I was always taught, don’t complain, make it better. Therefore, I decided to create my only online tutorial and here it is. Enjoy, Carol
Supplies:
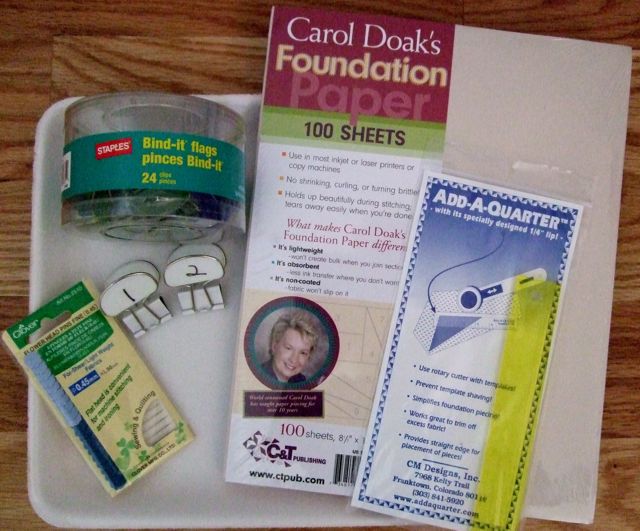
Carol Doak Foundation Paper-Perfect for paper piecing because it is easy to use, will not loosen the stitches when removed, eases when joining blocks and easy to remove.
Flat Headed Pins
Add-A-Quarter Ruler attached to a postcard with the 1/4″ edge over the edge of the postcard. Place the ruler on the right side for right-handed cutting and left side for left-handed cutting.
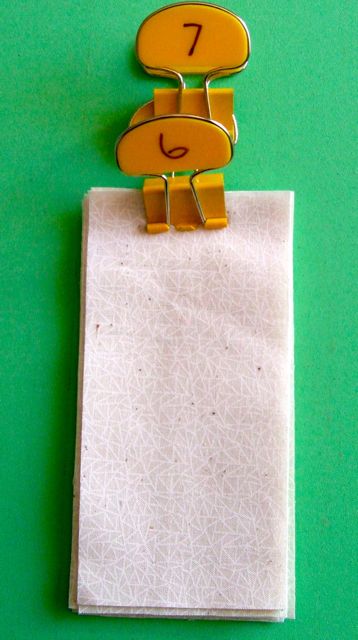
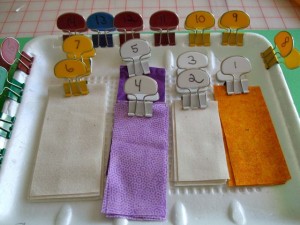
Binder Flag Clips labeled #1-7 to number your fabric pieces
Styrofoam meat/fruit tray to transport your pre-cut fabric pieces
Size 90/14 needle
Iron set on cotton setting, no steam.
Rotary Cutter and rotary mat
Foundations
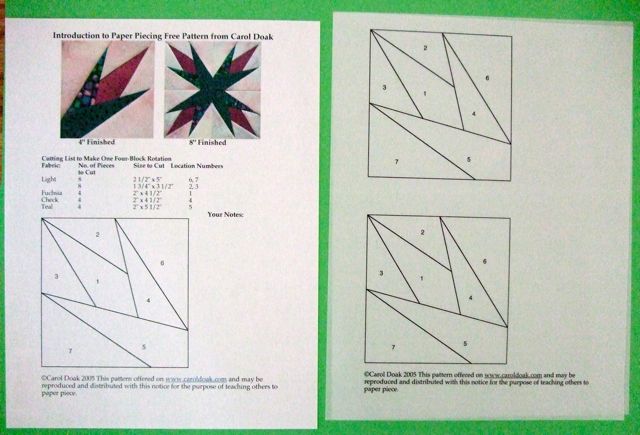
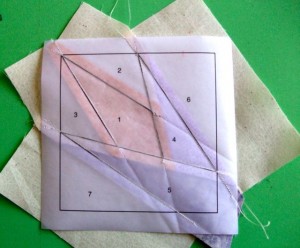
1. Select your foundation and print on Carol Doak Foundation Paper. I am going to use “Introduction to Paper Piecing” offered in the Free Patterns section of my web page. Please note that for the purpose of showing how this is done, I will use vellum in the photos below so you can see through the foundation.
2. Print one of page 1 for your cutting list on copy paper.
3. Print two of page 2 on Carol Doak Foundation paper to make four foundations. I will demonstrate making one block.
4. Using your rotary cutter and ruler, trim the foundations 1/2″ from the outside solid line.
Fabrics
1. Using the cutting list provided on page 1, cut and label your fabric pieces. It is easiest to cut a strip the smaller measurement and then cut the lengths. For instance, the first item on the list is 8 pieces, each 2 1/2″ x 5″ and they are used for location number 6 and 7.
Cut a strip 2 1/2″ wide and then cut the 8 pieces each 5″ long from the strip.
2. Clip your #6 and #7 Binder Flag to this group of fabric.
3. Cut the remaining pieces in the list in the same way and place them on a Styrofoam meat/fruit tray.
Sewing Machine
Set up your sewing machine with a neutral color thread, a 90/14 needle and 18 to 20 stitches to the inch. That is about a 1.5 on a sewing machine that has a range of 0-5.
Step-By-Step Paper Piecing — Trim, Sew, Press
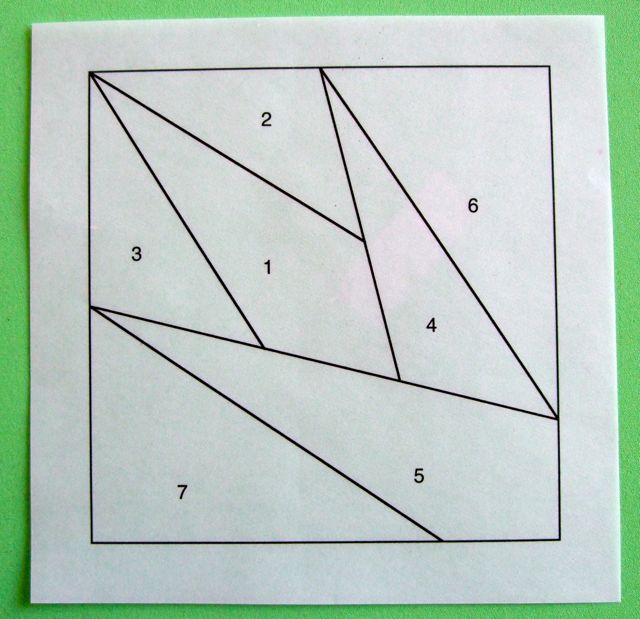
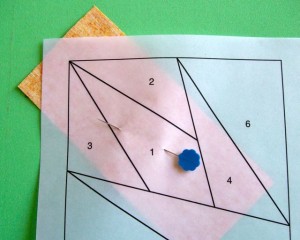
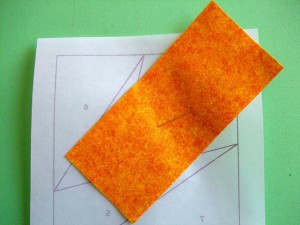
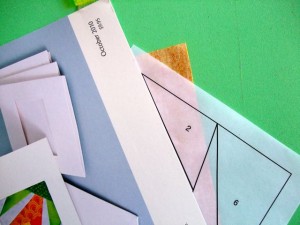
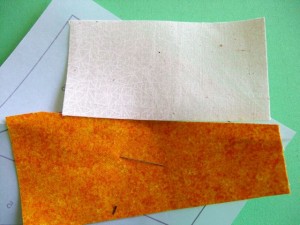
1. Select the #1 fabric piece and position it RIGHT SIDE UP on the BLANK side of the paper over the #1 area. Be sure that it covers the area completely with at least 1/4″ all around the #1 area.
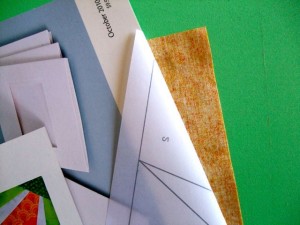
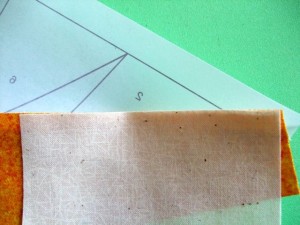
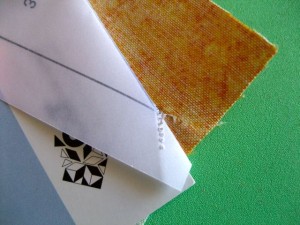
2. Place the postcard on the line between #1 and #2. Fold the paper over the edge of the postcard exposing the excess fabric beyond the #1 seam line.
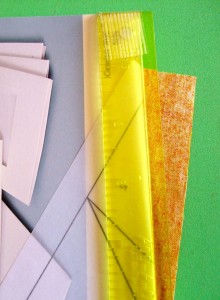
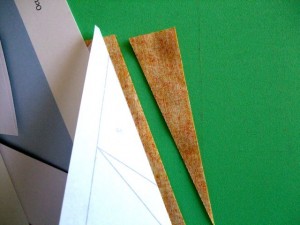
3. Place the Add-A-Quarter ruler along the edge of the fold and trim away the excess fabric.
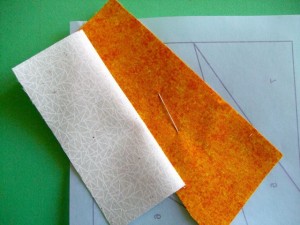
4. Place the #2 fabric right side up over the area it needs to fill to ball park placement, then right side together with the previous piece along the just trimmed line.
5. Confirm that the ends of the #2 piece will cover the #2 area.
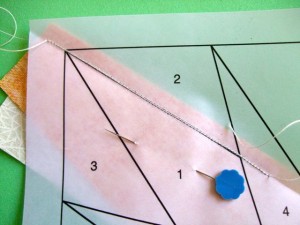
6. Pin in place.
7. Place with the lined side up under the presser foot and sew on the line, extending the stitches 1/2″ on each end. Remove and press the #2 piece open.
8. Now, using the #3 line, follow the same sequence of trimming, sewing and pressing as described in steps 2 through 7. Remember when you extended the stitching on each end of the line? Well, when you place the postcard along the #3 line, you will need to pull away the stitching from the paper at the pointed end to fold over the card. That is fine. However, the fabric pieces will still be stitched in the seam allowance area and that cuts down on bulk in these areas.
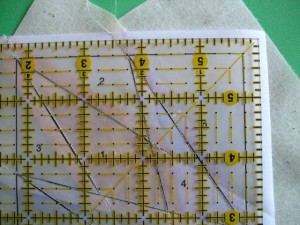
9. Once the #7 piece has been sewn the block is trimmed 1/4″ from the outside sewing line.
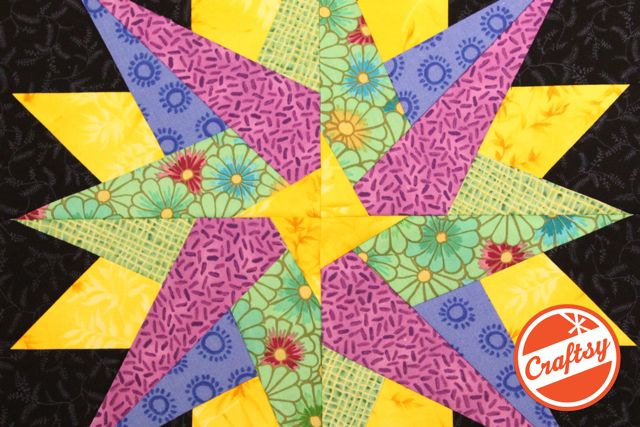
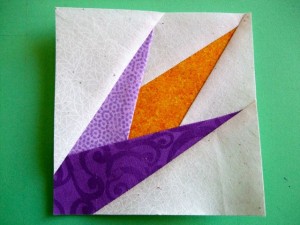
And here is your awesome block all finished with those perfect points. To make the 8″ block featuring a 4-block rotation, simply make three more blocks assembly-line fashion and join them.
For lots of tips and tricks about paper foundation piecing (measuring your fabric pieces, joining blocks, speed methods etc.), I would suggest any of my paper piecing books and/or DVD, Carol Doak Teaches You to Paper Piece.
I hope these instructions will encourage you to give paper piecing a go and if you are already paper piecing, I hope they add to your enjoyment of this fun method.
Carol
©Carol Doak 2012


April 4th, 2012 at 1:21 pm
Awesome!!! I can tell you, from experience this is indeed the “easiest way” and you get the very best results. Thank you Carol – what a great refresher course! I am going to hang this near my machine, just in case you forget something.
April 4th, 2012 at 2:04 pm
I’ve been shown many ways but never with the binder clips to number the fabric pieces. Thanks for the Tutorial. I love the precision, but hate tearing off the paper. Carol Doak paper is the best!
April 5th, 2012 at 11:59 am
Hi Carol, I wanted to thank you for such a great tutorial. It will help many! About 13 yrs ago I took one of your classes in Baton Rouge, LA. I can’t remember the name of the quilt shop tho. Anyway I was so thrilled that I’d be in the same room as Carol Doak! You taught me well and I’ve never forgotten what you taught and how sweet and fun you were! If I ever get the money before I’m too old I want to go on one of your cruises that you’ll be teaching. Thank you so much Carol for teaching me the love of paper piecing!
April 5th, 2012 at 9:59 pm
Yep, I’m afraid there are a couple of problems with quilting and the internet: 1) Just because you can wield a video camera and produce a youtube video does NOT an expert quilter make! And 2)A lot of youngsters are trying to “reinvent the wheel” so to speak… Thanks for posting the simple how to’s of this great technique! Foundation piecing provides such accuracy with so little effort! Your followers are eager for more… when will we get some video?!
April 6th, 2012 at 10:37 am
Thanks everyone for the positive feedback. Feel free to share this link with your friends so we can share the fun of paper piecing.
All the best,
Carol
April 23rd, 2012 at 9:46 pm
I am a new quilter and when my hubby chose Storm at Sea quilt that he wanted me to make for our bed, I thought that I would never be able to do this with all of the pieces that came with it! Then while searching the internet for this block patter, I came upon a paper piecing pattern for the block, then bought some of Carols’s Foundation paper sheets at our local fabric store. However, because they are a beige colour, it was hard to see if my material was laid out exactly as it should be on the reverse side. I thought that there had to be a better way of doing this rather than flipping the paper over so many times to try to get my material pieces laid correctly. I then photocopied the pattern pieces onto both sides of the paper (same shape on each side), and this made the piecing go much more efficiently, and I no longer had to “guess” if my material would fit or not as I also had the exact pattern on the back of the page as the front. If no one has ever tried this before, it works great! My hubby even sits with me and helps to remove the paper with tweezers.
April 30th, 2012 at 8:34 pm
LOVE THIS ,,,THANKS SO MUCH!!!!@@@@@@@
I have been using your paper ideas and methods for lots of years and I have showen them to various quilter friends of mine,I happen to love to paper piece,,,,@@@@@@@@@
Thanks again so much!!!!!@@@@@@
April 30th, 2012 at 8:36 pm
Hi there,,,,,,,,,,,,,,,This is great,,,I have been using YOUR paper pieceing designs for years and showen some of my quilting friends how to paper piece,,,,,,,,,,,,,,,I happen to love it very,very much
Thanks again,,,Sincerely. Beverly
July 19th, 2012 at 8:11 pm
Hi Carol.
I live in NH about 12 miles from Londonderry. Do you give workshops in the area? I am new to quilting, but not new to life. I am trying to make the sunbonnet Sue blocks, but not feeling as successful as I should. ANY SUGGESTIONS?
July 19th, 2012 at 8:17 pm
Hi: I no longer teach except for a handful of major trips each year. Why don’t you email me with the town you live in and perhaps I can suggest a local shop or guild where you could connect with other quilters and get some help. My email address is Qcarol@comcast.net